Most players who stumble into a WARDOGS tower hack the console, see a random number, and walk off without knowing what it did.
That number is part of the most powerful play in a match: dragging the Hot Zone onto a position your faction already fortified. Ignore the towers and you spend every match chasing the objective across the map.
This guide covers how WARDOGS towers work, how the code builds up, and when pulling the Hot Zone actually pays off.
Quick answer: Wait out the tower’s cooldown, clear the building, and hold interact on the console one floor above the entrance. Each captured tower in the Control Zone reveals one digit of a match-specific code. Enter the full code on the keypad at a tower your faction holds to trigger the Hot Zone Magnet, which pulls the Hot Zone toward that tower.
Table of Contents
- What Towers Actually Do in WARDOGS
- Which Towers Count Toward the Code
- How to Capture a Tower, Step by Step
- How the Tower Code Works
- What the Hot Zone Magnet Does
- How to Pick Your Activation Tower
- Tower Magnet vs FOB Drill Rig
- A Squad Plan for Running the Tower Play
- Common Tower Mistakes
- When Your Faction Won’t Coordinate
- Key Takeaways
- FAQ
What Towers Actually Do in WARDOGS
Start with what towers don’t do: they don’t generate points.
WARDOGS scoring is King of the Hill. Per Team17’s official game page, three teams fight over a randomized 2x2 km Control Zone inside a 256 km² map, the team with the most players in the zone earns points, and the first to 100 wins.
Every 30 seconds, the faction with the most presence in the zone banks a point.
Kills, vehicles, FOBs, and towers only matter because they change that headcount.
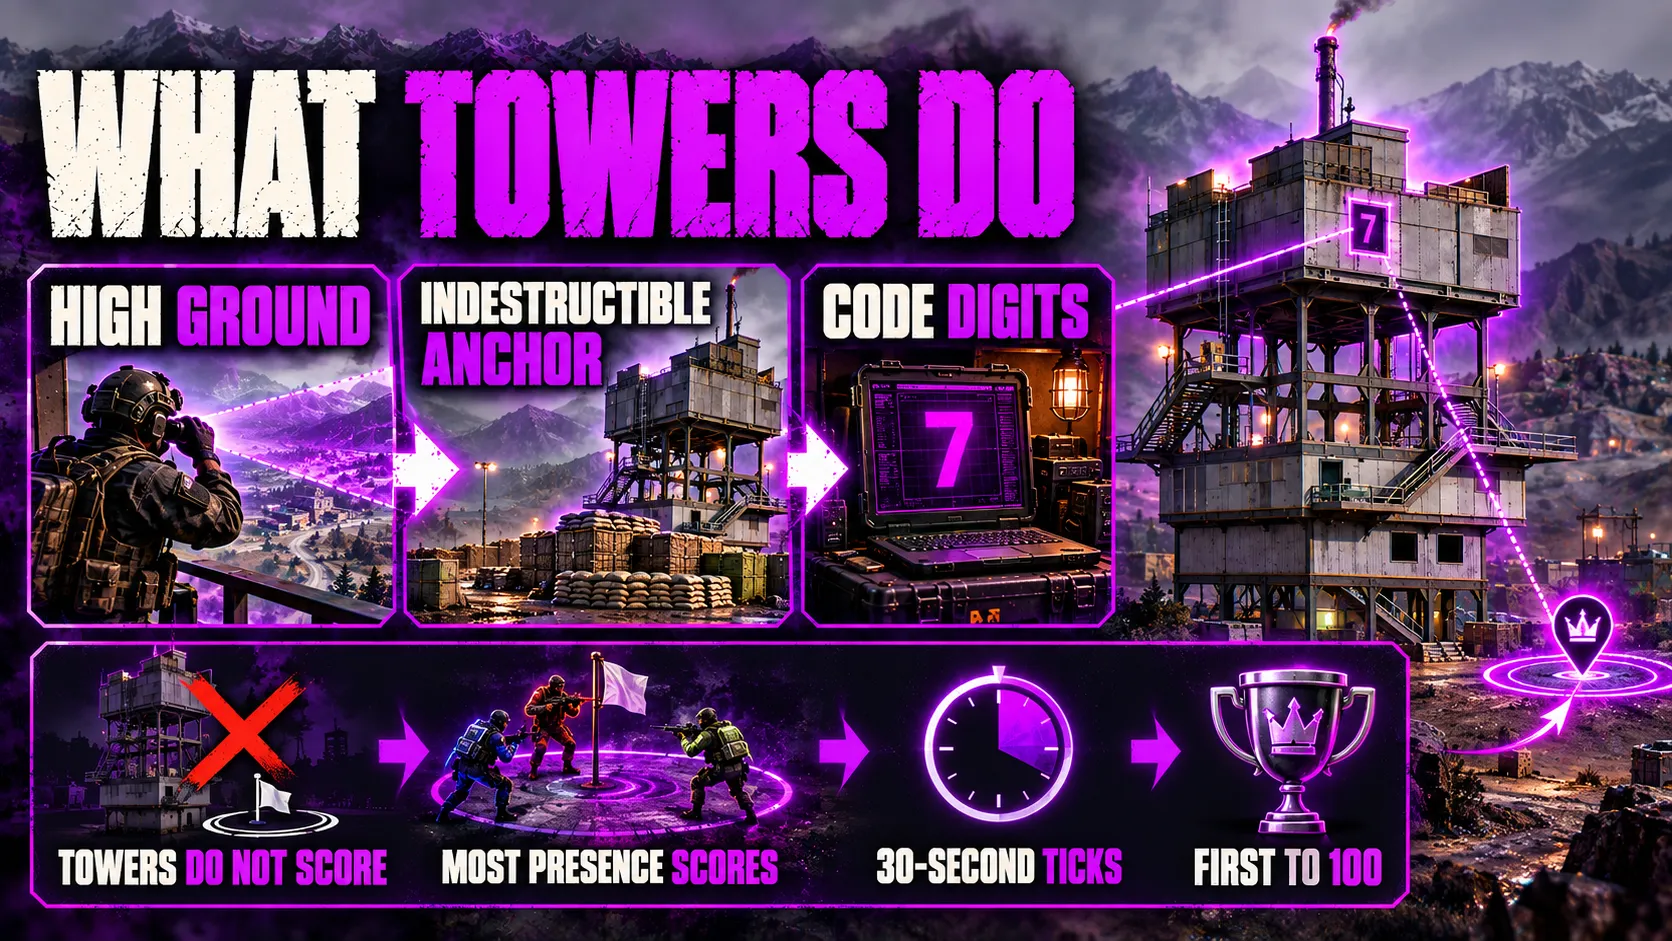
Towers change it in three ways:
- High ground. Towers give long sightlines for spotting, sniping, and anti-air coverage.
- A FOB anchor. Towers are among the few indestructible structures on the map, so a FOB built against one starts with a wall that can’t be blown down.
- Code digits. Each captured tower in the active Control Zone gives your faction one digit of the code that moves the Hot Zone.
The third one is the reason towers decide matches.
Which Towers Count Toward the Code
Tower positions are fixed on each map, but the Control Zone moves every match.
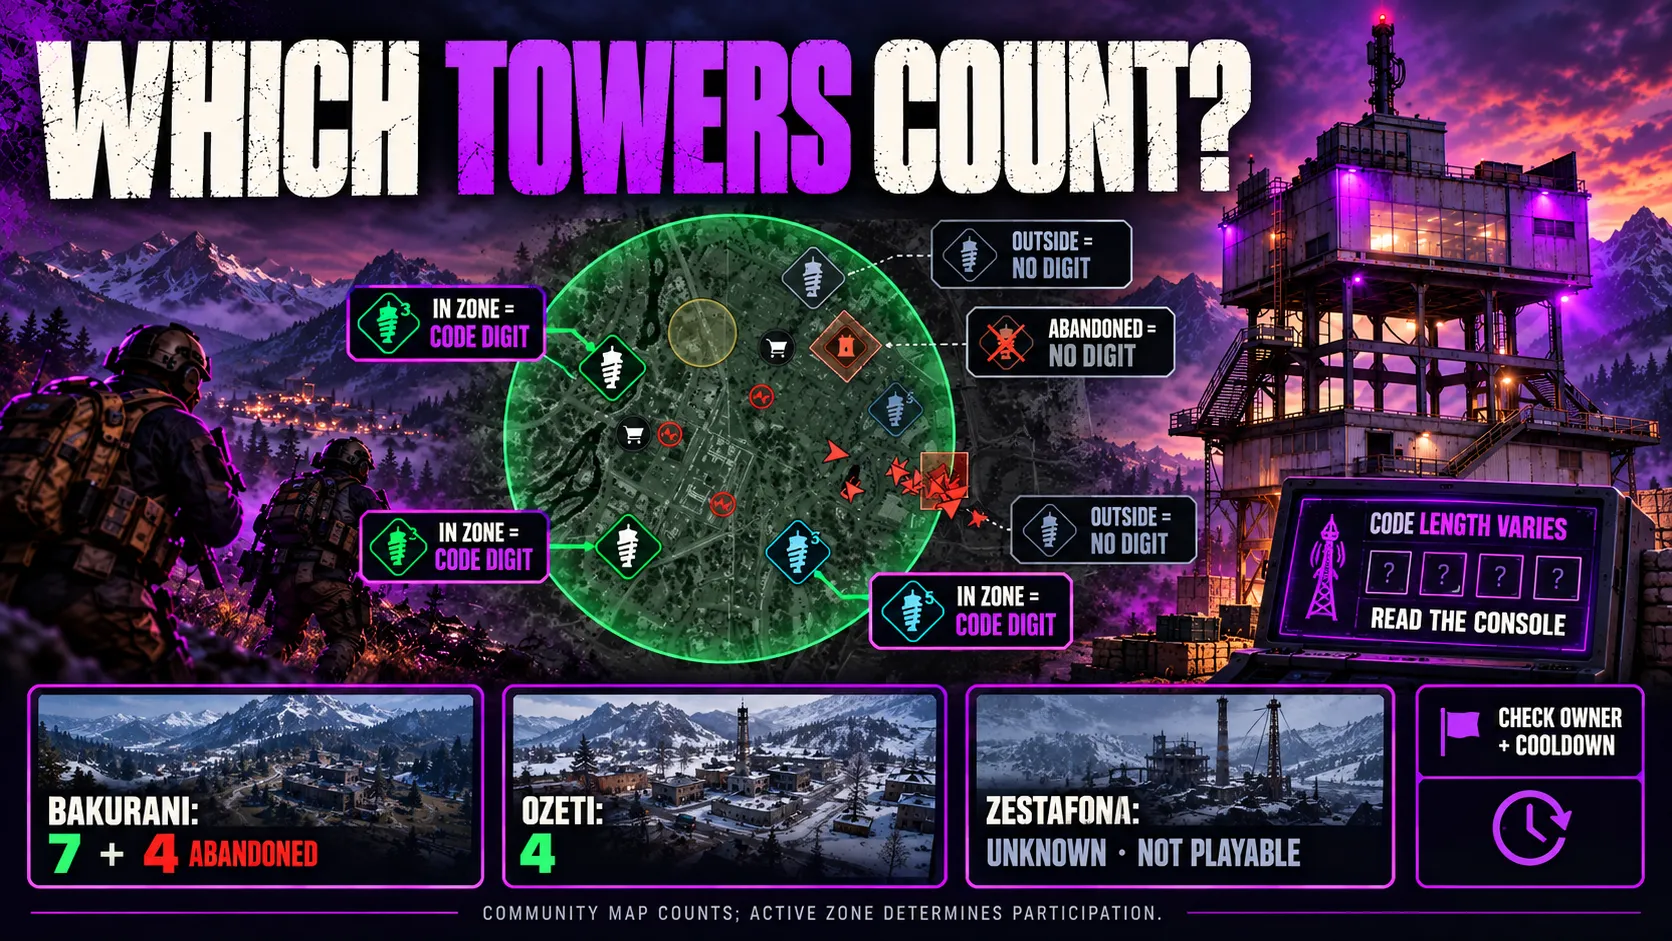
Only towers inside the active Control Zone function as objectives. Towers outside the zone are still useful vantage points, but they don’t hold a digit.
That detail clears up a contradiction you’ll see across guides. Most describe a “four-digit code,” yet Bakurani reportedly has seven counting towers. According to recent reporting from Shacknews, the code length depends on how many towers are in play, so read it off the console instead of assuming four.
| Map | Counting towers | Notes |
|---|---|---|
| Bakurani | 7 | Plus 4 abandoned towers that hold no digit |
| Ozeti | 4 | - |
| Zestafona | Unknown | Revealed but not playable yet |
These counts come from pre-launch community mapping, not official Bulkhead data. See the full map guide for a closer look at both playable layouts.
Check your map at the start of each match: it shows every tower, which faction owns it, and how long its cooldown has left.
How to Capture a Tower, Step by Step
The capture itself is simple. Getting to the console alive is the hard part.
- Check the cooldown. Every tower starts the match on a 10-minute cooldown. Hover the tower icon on your map, or read the timer on the console inside.
- Clear the building. The console won’t respond while an enemy is still inside. One defender camping a stairwell is enough to block the capture.
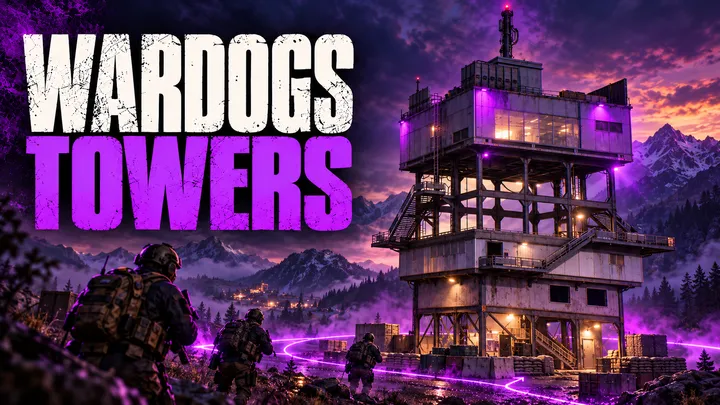
- Go one floor above the entrance. That level holds the operations room: a bank of screens with the main console and a keypad next to it.
- Hold interact on the console. The default key is F. Hold it until the bar fills. You’re stationary and exposed while it runs, so have a teammate watch the stairs.
- Confirm and call it out. The tower flips to your faction’s color on the map, and the screen shows one digit plus its position in the code.
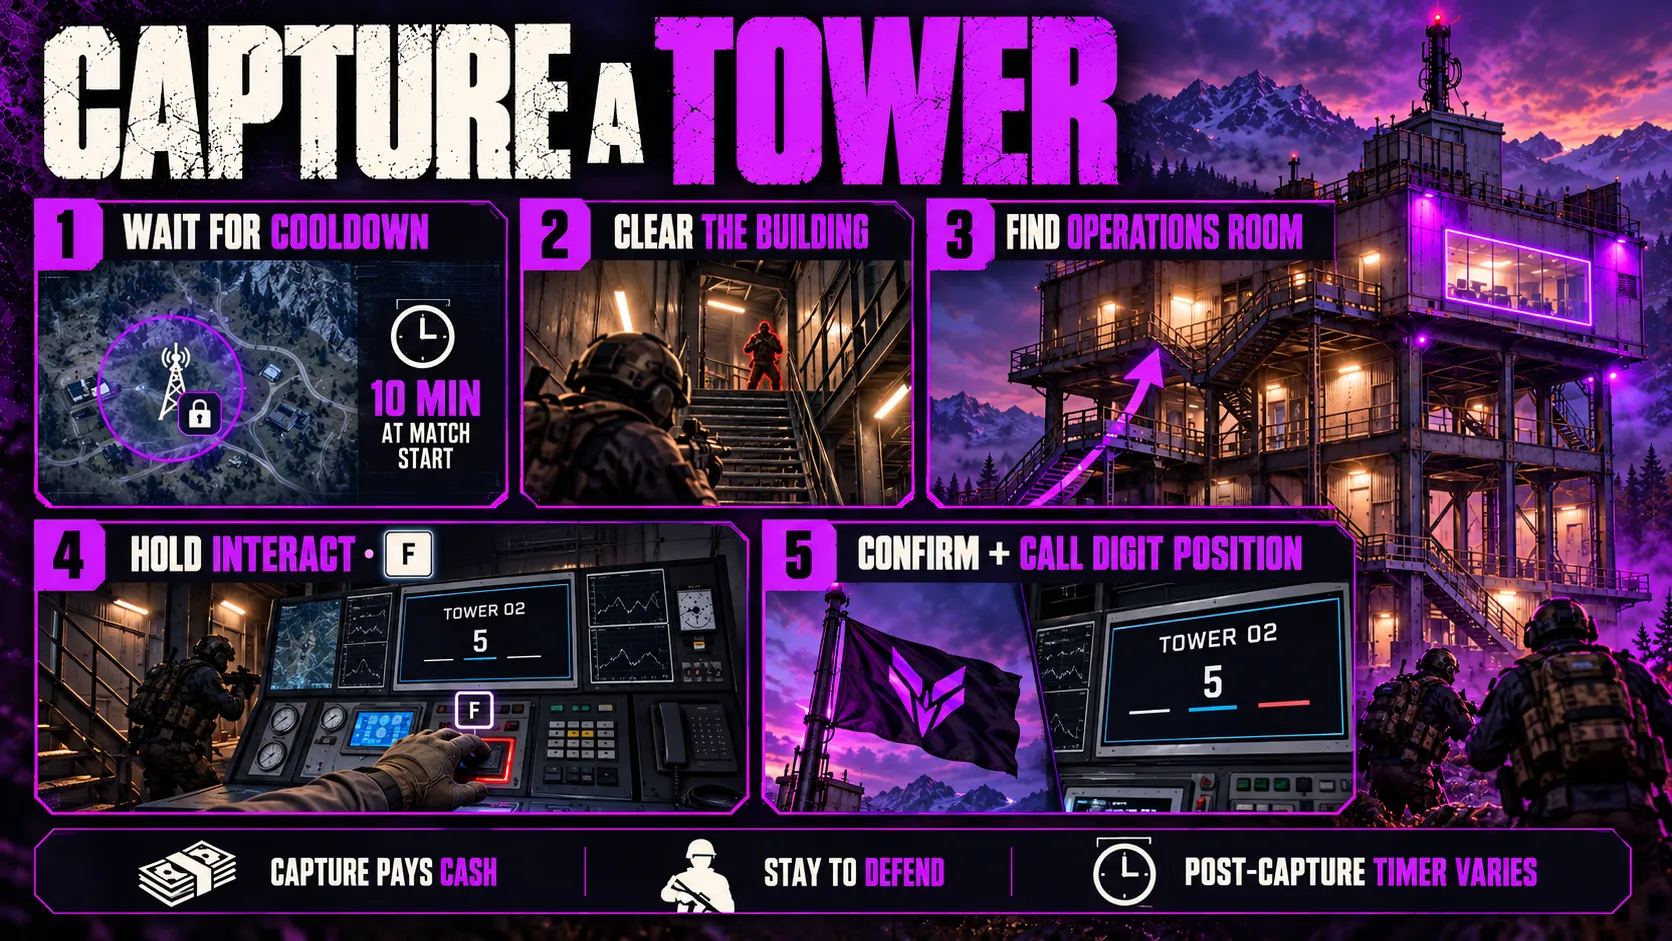
Capturing a tower also pays cash, so it’s never wasted time even if your team never completes the code.
Once a tower changes hands, it goes back on cooldown. Reports disagree on how long: some guides describe a short lockout, others the full 10 minutes. Either way, don’t leave the moment the bar fills. An enemy squad can walk in, wait out the timer next to the console, and take it straight back.
How the Tower Code Works
Each captured tower in the active Control Zone reveals one digit and the slot it fills in the sequence.
The code is generated fresh every match, so a digit you wrote down last game is worthless now.
Call digits out in a format that includes the position. Typing __5_ in team chat tells everyone the third digit is 5, and nobody wastes a trip re-capturing a tower you already hold.
Guessing is allowed, but limited. If you’re missing one digit, you can try the remaining options on the keypad. After a small number of wrong entries, the keypad locks for a few minutes. Sources disagree on the exact limit:
- Some guides report two attempts before the lockout
- Shacknews reports three attempts
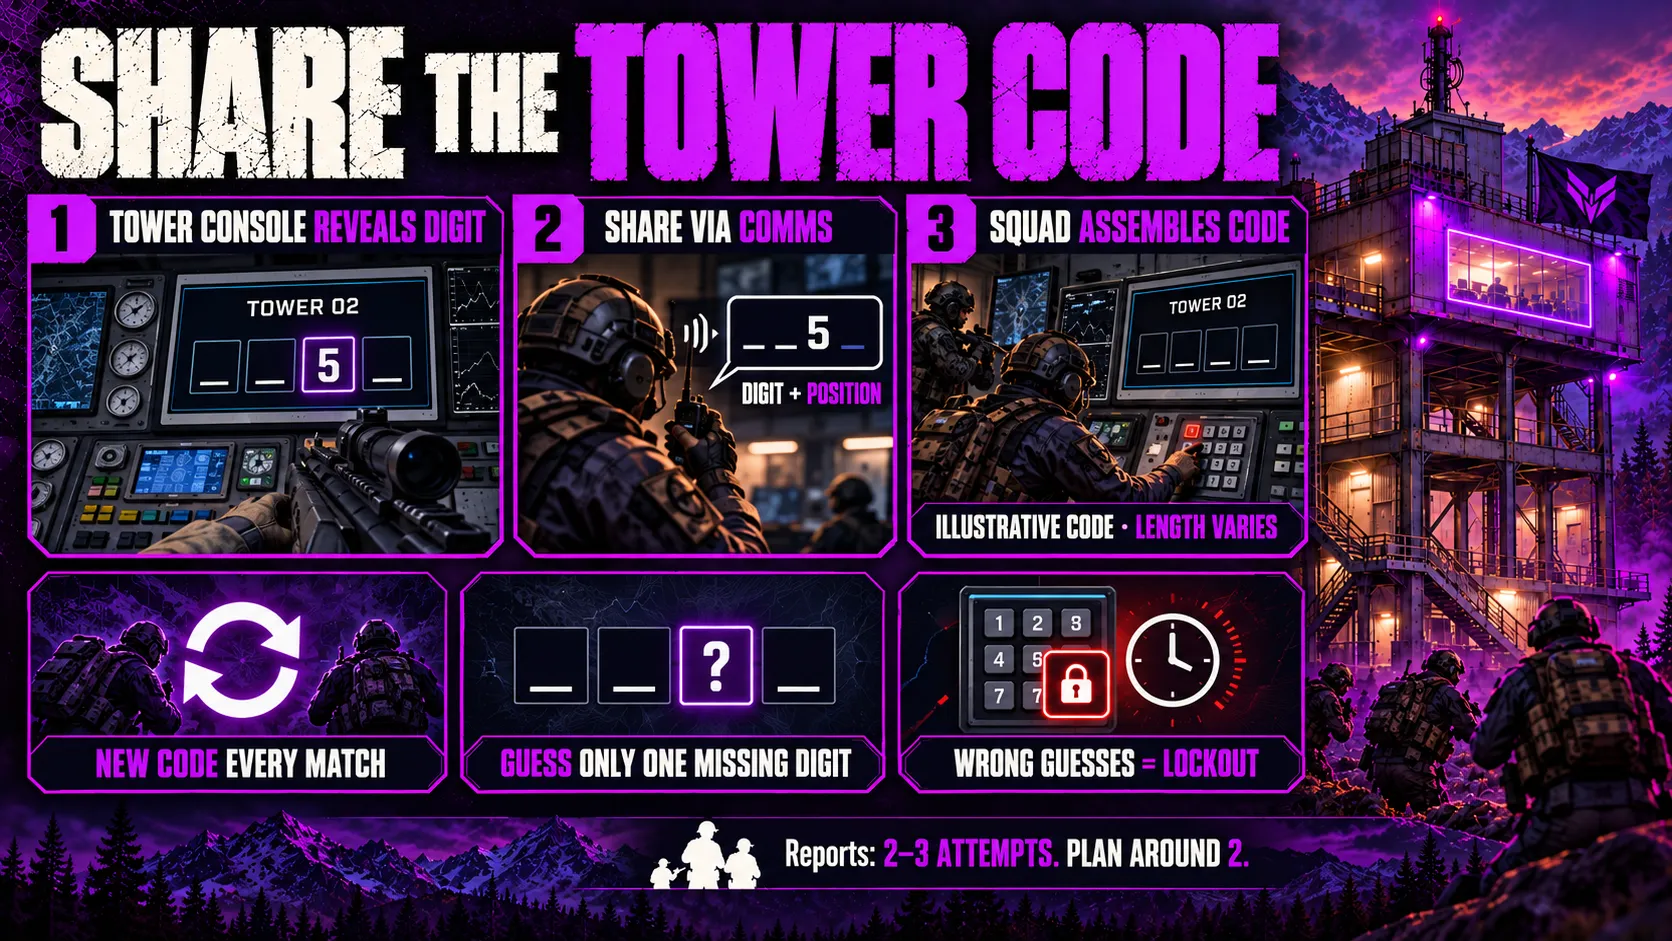
Plan around two. Guess only when a single digit is missing. With two digits missing, the odds are too poor to justify the lockout.
What the Hot Zone Magnet Does
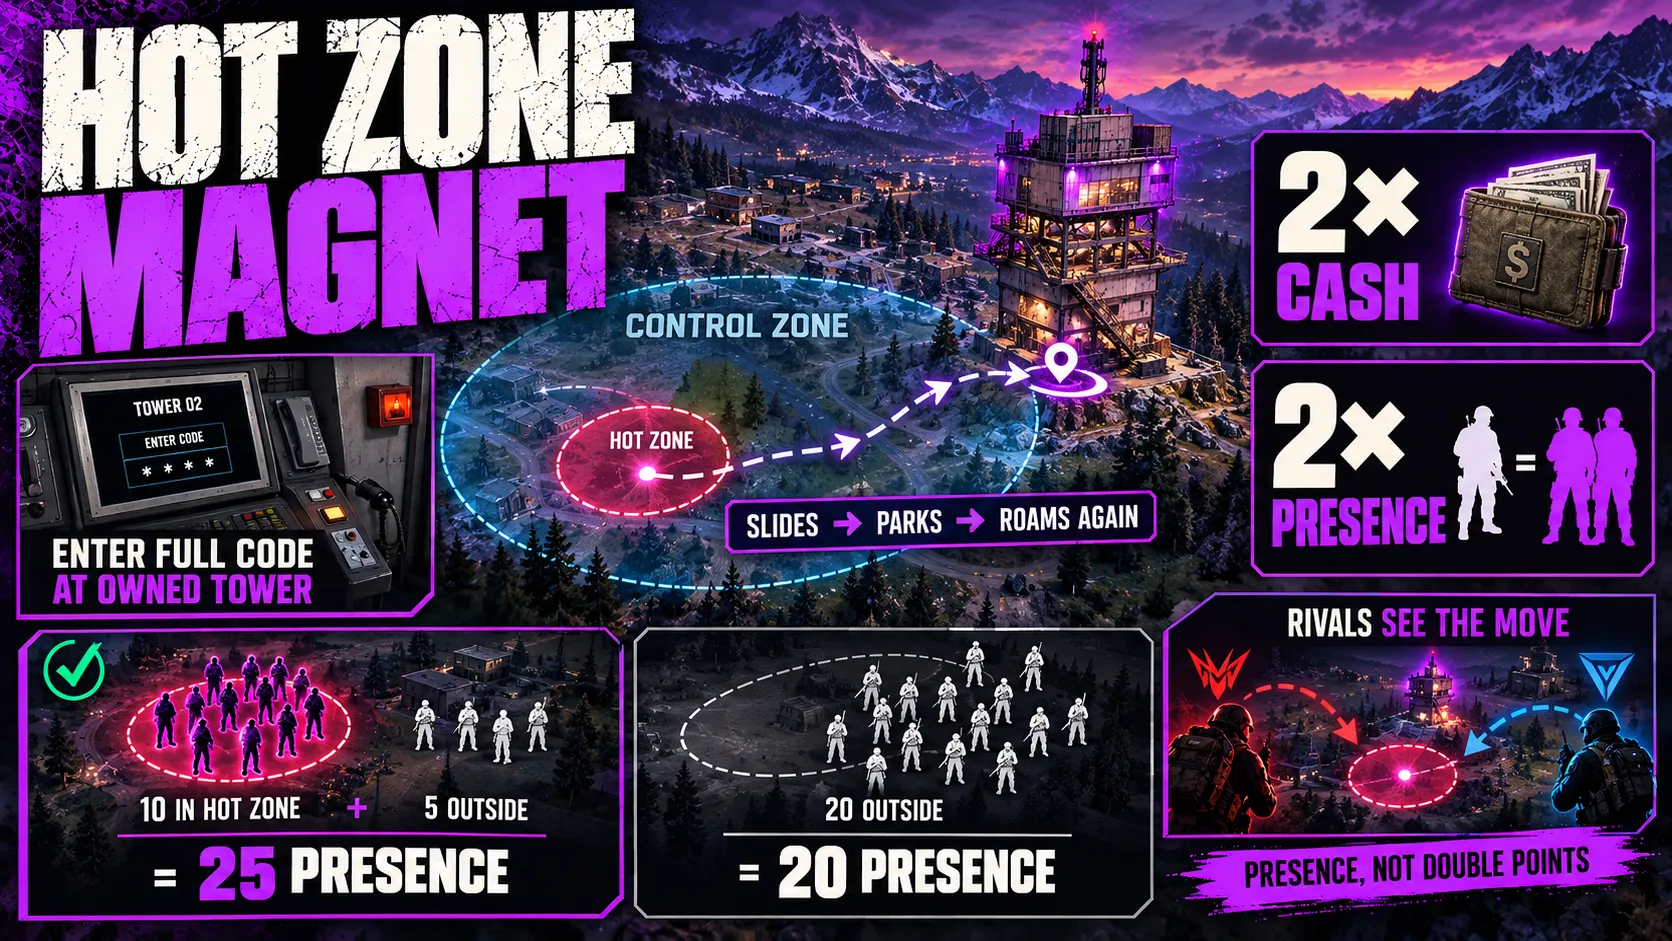
Enter the full code on the keypad next to the main console of a tower your faction holds, and you trigger the Hot Zone Magnet.
The Hot Zone is the smaller circle inside the Control Zone. Two things make it worth fighting over:
- Double cash. Team17 confirms that chasing the Hot Zone earns double cash.
- Double presence. According to Bulkhead’s Steam FAQ, each player inside the Hot Zone counts as two toward the zone headcount.
That second point is often misstated as “double points.” It’s more precise than that. The Hot Zone doubles your headcount, and headcount decides who scores each tick.
Worked example: your faction has 10 players in the Hot Zone and 5 elsewhere in the Control Zone. That’s 25 presence.
An enemy faction with 20 players spread across the zone, none in the Hot Zone, has 20. You win the tick despite being outnumbered.
Once the magnet fires:
- The Hot Zone slides toward your tower from wherever it currently sits
- The map reportedly draws white dashed lines showing the path and which tower is pulling it
- It parks on the tower for a period, then goes back to roaming
It slides instead of teleporting, so both rival factions see it coming. You’re sending them an invitation to your position.
How to Pick Your Activation Tower
The tower you enter the code at matters more than how fast you enter it.
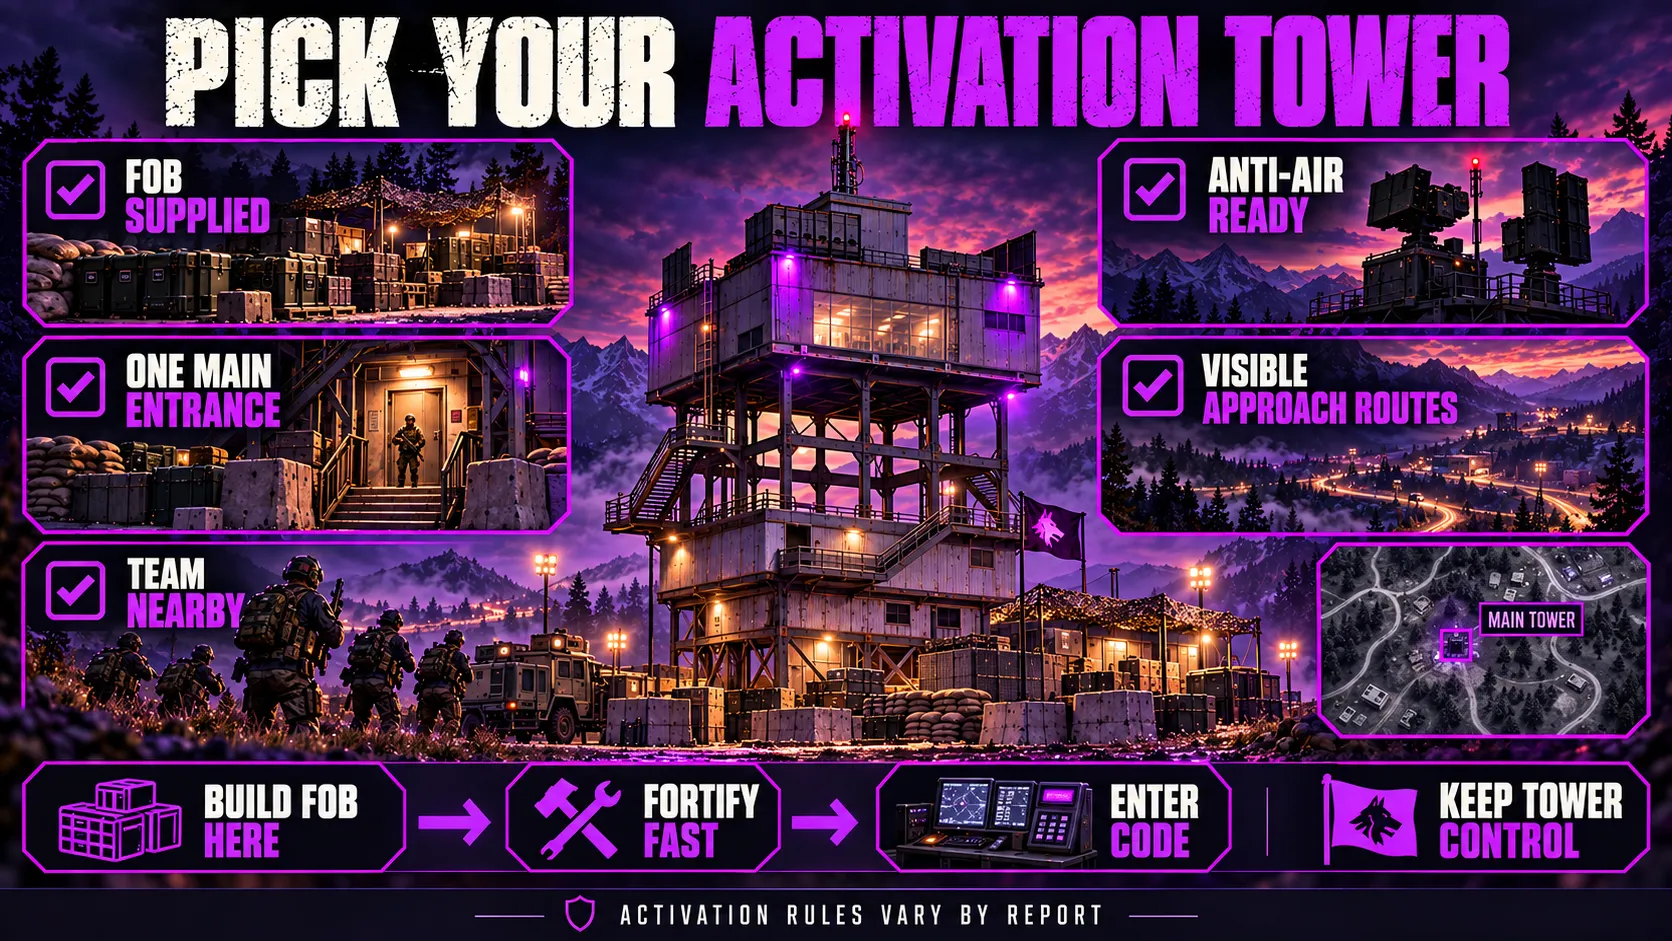
Several guides report that placing a FOB at a tower marks it as your faction’s main tower, shown on the map as a square in your faction’s color. Some sources say you can activate from any tower you hold; others tie activation to this main tower. The safe play covers both: build your FOB at the tower you plan to activate from.
Before you punch in the code, check the tower against this list:
- FOB already placed and supplied. Ammo, build supplies, and a respawn option in place before the Hot Zone starts moving, not after.
- Anti-air up. A magnet pull draws helicopters. Anti-air guns and mortars reportedly need the Large Hammer, so plan that unlock ahead, and see our guide to destroying vehicles for how to actually use them.
- One main entrance. Every extra door is another breach point.
- Friendly players already nearby. The magnet fails if your team is 3 km away when the zone arrives.
- Approach routes you can see. Pick a tower where the high ground covers the roads the enemy will use.
If your best tower fails most of these, you have a timing call to make. Several guides describe the code as usable only while your faction still holds every tower, so a slow setup can cost you a tower and the whole play. Fortify fast, then fire the code while you still have it.
Tower Magnet vs FOB Drill Rig
Towers aren’t the only way to pull the Hot Zone. A Drill Rig built inside a faction-owned FOB acts as a mini-tower: fuel it to the maximum 6,000/6,000 and activate it for the same magnet effect.
The two routes suit different matches:
| Tower magnet | FOB Drill Rig | |
|---|---|---|
| What you need | Every digit of the code (captured or guessed) | Large Hammer (reported), a FOB, build supplies, fuel |
| Progression gate | None | Support level 8 |
| Cost | Nothing beyond the fight | $75,000 permanent Large Hammer unlock, $2,400 per purchase, plus a $7,500 FOB |
| Fuel | None | Must be filled to 6,000/6,000 |
| Can it be destroyed? | No | Yes, by artillery and Stingray drones |
| Reuse | Reportedly a one-time pull per code | Reportedly reusable after a cooldown |
The Large Hammer and FOB figures come from the official Season 1 changelog, which Shacknews covered in full. That update moved the Large Hammer from Support level 7 to 8 and tripled its unlock fee, so check the leveling guide if you’re still working toward that unlock.
In public matches, the drill is usually easier. Capturing every tower in the zone takes a coordinated faction. The drill only needs one well-supplied FOB.
The tower magnet is cleaner when you can pull it off. No fuel runs, nothing to destroy, and no logistics line an enemy can cut.
You can run both. A tower with a FOB and a Drill Rig beside it gives you two ways to pull the zone.
A Squad Plan for Running the Tower Play
The tower play fails when one squad tries to do everything. Split it.
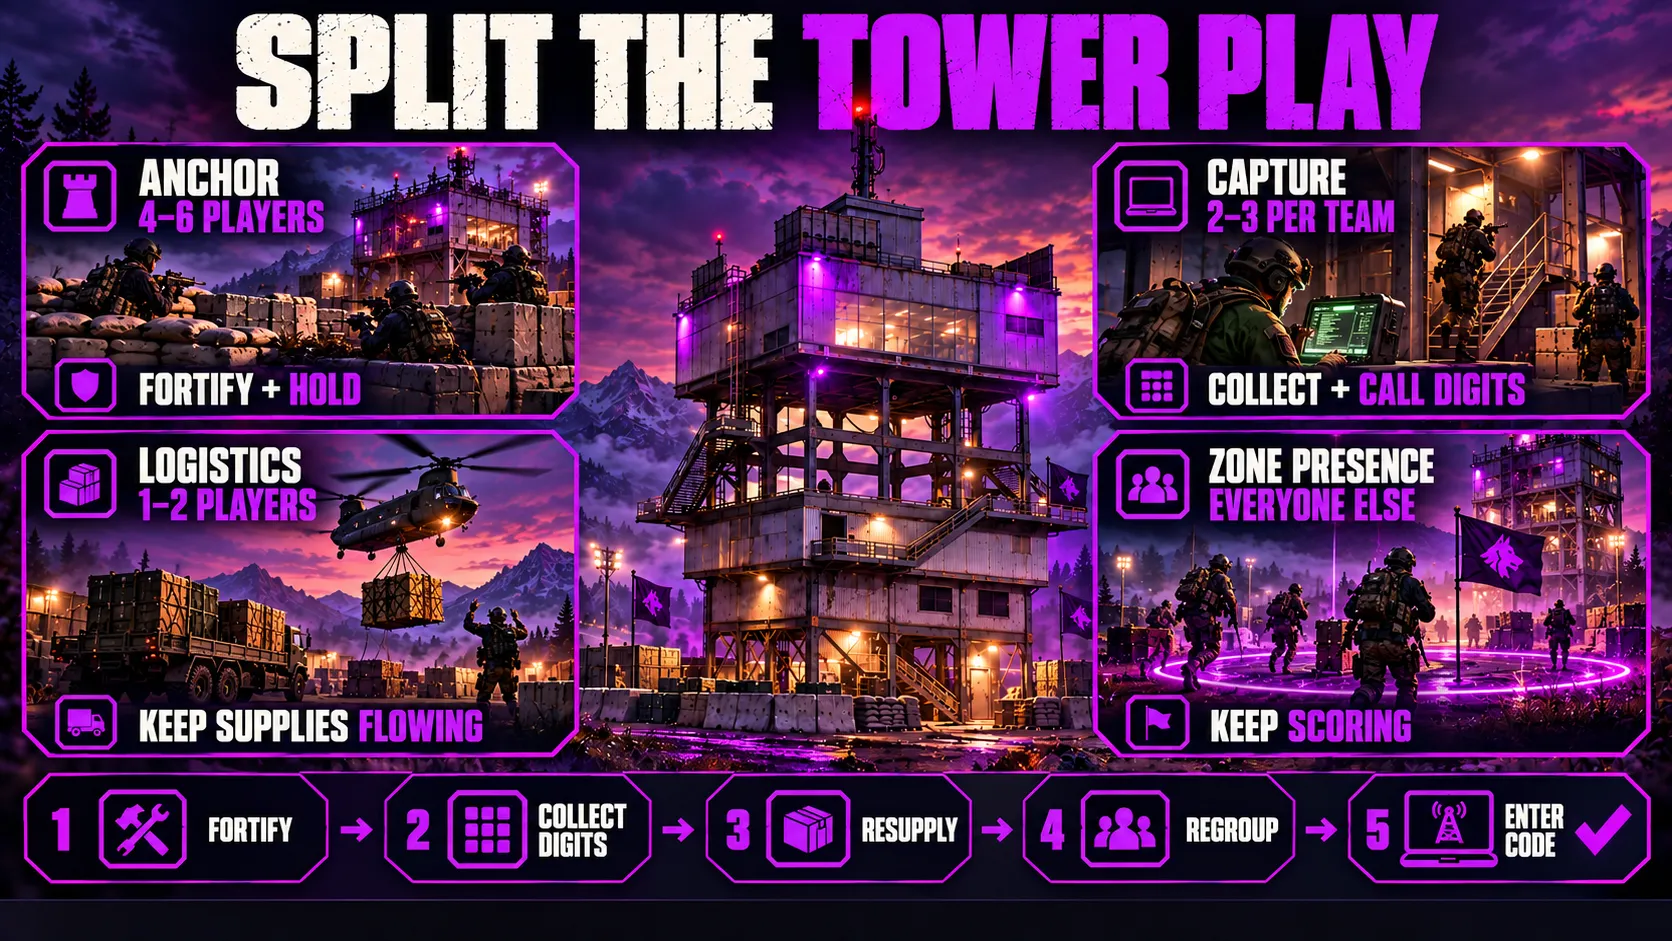
Anchor squad (4-6 players) Pick the activation tower early. Place the FOB, build walls, and hold the building once the cooldown ends.
Capture teams (2-3 players each) Rotate through the other towers in the zone. One player holds interact, the rest cover stairs and the roof. Call each digit with its position the moment it appears.
Logistics (1-2 players with vehicles) Keep supplies flowing to the anchor FOB. A helicopter pilot ferrying pallets does more for the play than two extra rifles.
Zone presence (everyone else) Keep bodies in the Control Zone so your faction doesn’t bleed points while the setup runs.
Order of operations:
- Anchor squad claims and fortifies the activation tower
- Capture teams collect digits as cooldowns expire
- Logistics tops up the FOB before the code is complete
- Zone presence players pull back toward the anchor tower
- Only then does someone enter the code
Common Tower Mistakes
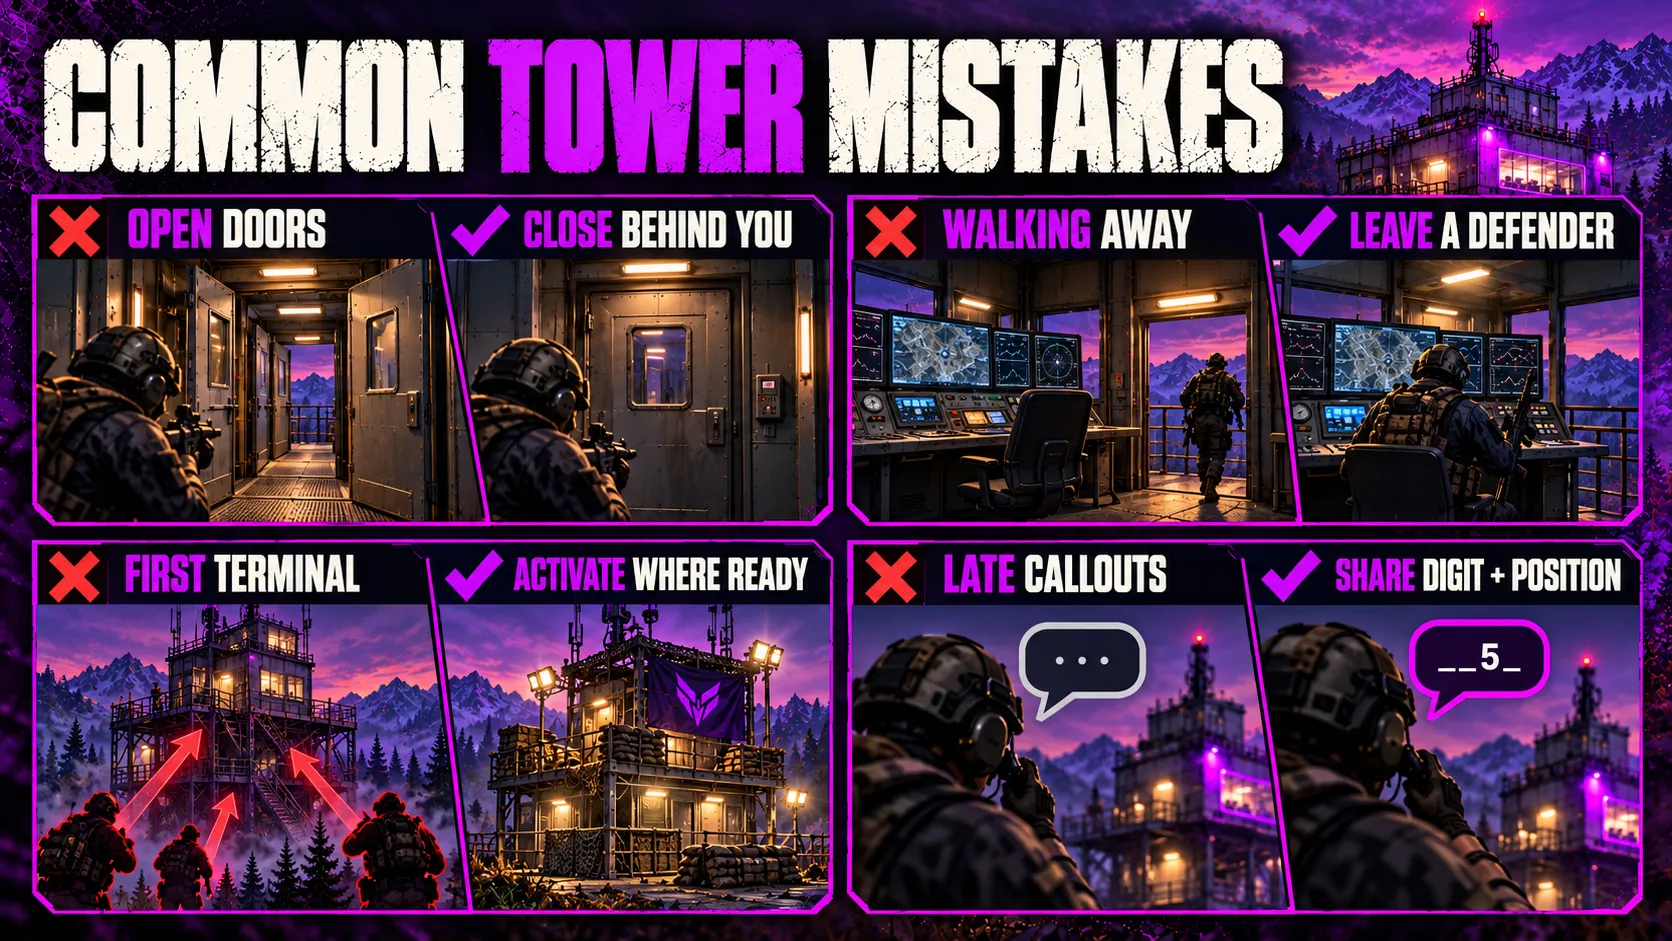
Leaving doors open. At a FOB your faction controls, only your team can open and close the doors, and one creator reports the same door control comes with captured locations. That makes an open door a free entrance.
GameSpot highlighted a Reddit post from a player who lost a fully built FOB because every door in the airlock chain had been left open. Close them behind you, every time.
Walking away after the capture. The capture starts a cooldown, not a lock. Leave one player on the console.
Activating at the first terminal you reach. The magnet invites two factions to wherever you entered the code. Make sure that’s somewhere you want them.
Calling digits late. A digit sitting in one player’s head does nothing. Say it in voice or type it in chat with its position.
When Your Faction Won’t Coordinate
WARDOGS servers hold up to 100 players, and plenty of matches have a team that ignores the objective entirely.
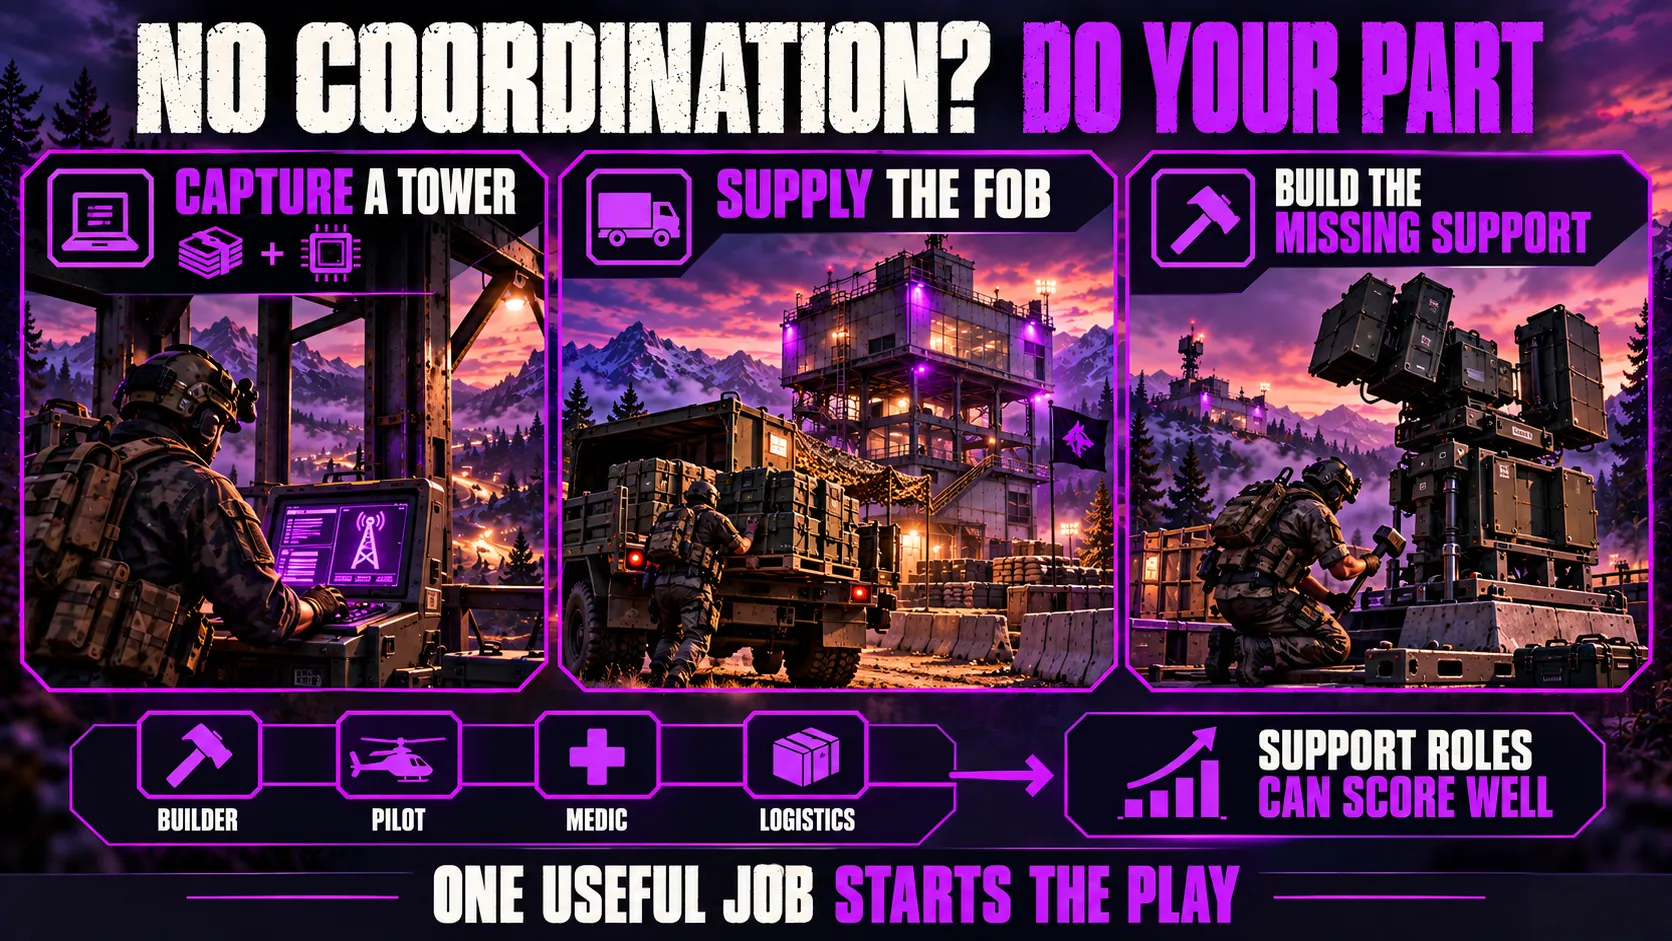
One creator’s beginner walkthrough made this point directly: in their early matches, they barely saw anyone capturing towers at all, and they found that scoring well didn’t depend on kills. Builders, pilots, medics, and logistics players regularly finished high on the scoreboard.
If your faction won’t run the full play, run a piece of it.
Capture towers for the cash and the digits. Supply a FOB. Build the anti-air nobody else thought of. The tower play needs every one of those jobs done, and someone has to start.
Key Takeaways
- Towers don’t score. Control Zone presence scores, and towers decide where the Hot Zone sits.
- Only towers in the active Control Zone hold a digit. Code length follows the tower count, so don’t assume four.
- Every tower starts on a 10-minute cooldown, and goes back on cooldown after each capture.
- Hot Zone players count double toward your headcount and earn double cash.
- Build before you activate. The magnet is announced, and both rival factions will come.
- The FOB drill is the easier route in public matches, but it costs a Support 8 Large Hammer and constant fuel.
FAQ
Do towers give points in WARDOGS?
No. Points come only from having the most presence in the Control Zone, checked every 30 seconds, with 100 points needed to win. Towers help you score by letting you pull the Hot Zone onto ground you already hold, where each of your players counts as two.
How do you capture a tower in WARDOGS?
Wait for the tower’s cooldown to end, clear every enemy out of the building, then go one floor above the entrance to the operations room. Hold your interact key (F by default) on the main console until the bar fills. The tower switches to your faction’s color and the screen shows one digit of the match code.
How long is the tower cooldown at the start of a match?
Every tower starts the match on a 10-minute cooldown, according to multiple post-launch guides. Towers also go back on cooldown after changing hands, though reports differ on whether that second timer is a short lockout or the full 10 minutes. Hover the tower icon on your map to see the exact time left.
What does the tower code do in WARDOGS?
The full code activates the Hot Zone Magnet when you enter it on the keypad next to the main console of a tower your faction controls. The Hot Zone then slides toward that tower and stays there for a while before it goes back to roaming. The code is new every match, so digits from earlier games are useless.
How many digits is the WARDOGS tower code?
Most guides describe a four-digit code, but the length reportedly depends on how many towers sit inside the active Control Zone, since each of those towers holds one digit. Read the code length off the console rather than assuming four. Abandoned towers don’t hold a digit.
Can you guess the tower code?
Yes. The console shows which position each captured digit fills, so if you’re missing one digit you can try to guess it. You only get a couple of attempts before the keypad locks for a few minutes, and sources disagree on whether that limit is two or three. Only guess when a single digit is missing.
What is the Hot Zone Magnet?
It’s the effect you trigger by entering the full tower code. The Hot Zone, the small area inside the Control Zone where each player counts double and cash rewards are doubled, starts moving toward the tower you entered the code at. It slides instead of teleporting, so both rival factions see it coming and will follow it.
Is a FOB drill better than capturing towers?
In disorganized public matches, the FOB drill is usually easier because it doesn’t need every tower in the zone. The trade-off is cost and fragility: it reportedly needs the Large Hammer (Support level 8, $75,000 unlock), a constant fuel supply, and it can be destroyed. A tower magnet needs no fuel and the tower itself can’t be destroyed.
Can towers be destroyed in WARDOGS?
No. Towers are among the few indestructible structures on the map, which is why so many factions build their FOB right against one. The walls and defenses you build around a tower can still be destroyed, so an indestructible tower doesn’t mean the position is safe.
Which WARDOGS maps have towers?
Both playable launch maps use towers as an objective. Pre-launch counts list Bakurani with seven counting towers plus four abandoned ones, and Ozeti with four. The third revealed map, Zestafona, isn’t playable yet, so its tower layout is unconfirmed.