Losing a gunfight to a shot that should have killed first almost always comes down to one thing: ammo versus armor.
WARDOGS looks simple from the outside: load up, shoot, get paid.
The systems underneath punish anyone guessing at ammo choice, ignoring tank crew mechanics, or skipping the one cheap item that keeps a bad helicopter ride from costing a full loadout.
Here’s what holds up after Season 1.
Table of Contents
- Ammo Types: FMJ, HP, and AP Explained
- Armor: What Each Piece Covers
- The Ammo-Packing Trick Most Players Miss
- Always Buy a Parachute
- IEDs: Your Early Anti-Vehicle Option
- Progression: Six Class Tracks Plus a Career Level
- How the Control Zone and Hot Zone Work
- Tanks: Crew Size Changes Your Reload Speed
- Humvees and Ground Vehicles: Where to Shoot
- Vehicle Repair, Fuel, and the Buy Menu
- The Rebuy Button Saves Real Time
- Key Takeaways
- FAQ
Ammo Types: FMJ, HP, and AP Explained
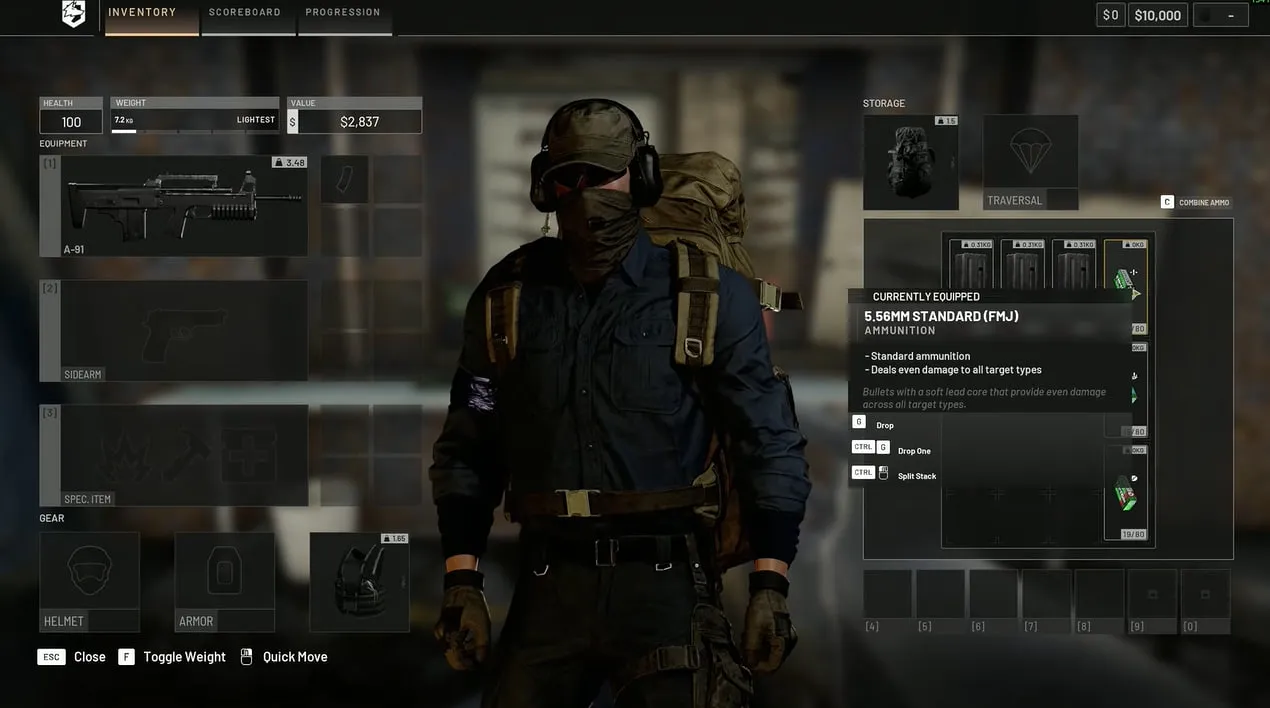
Nearly every weapon in WARDOGS loads three ammo types.
Picking the wrong one for the fight in front of you is one of the most common ways new players lose gunfights they should win.
- FMJ (Full Metal Jacket) - the balanced, all-purpose round
- HP (Hollow Point) - maximum flesh damage, collapses against armor
- AP (Armor Piercing) - built for punching through plates, weaker on bare skin
One WARDOGS creator tested all three at the practice range against an unarmored target and against Level 1 and Level 2 armor.
Against an unarmored target, HP hit hardest by a wide margin, while AP was the weakest of the three.
Put Level 1 armor on that same target and the picture flips: FMJ led, HP fell off sharply, and AP still trailed FMJ, only a little ahead of its unarmored numbers.
AP doesn’t pull ahead of FMJ until Level 2 armor, and even then the gap is small.
The pattern holds as armor level climbs: AP keeps closing the gap and eventually pulls ahead, which matches how the game’s own unlock order treats it.
AP doesn’t unlock until deep into a weapon’s level track, well behind HP, so it’s built as a late-game answer to heavy armor rather than a starter round.
The practical takeaway: run FMJ as the default.
Switch to HP only against unarmored or lightly-geared targets.
Save AP for lobbies where Level 2+ armor is common, and expect to be well into class progression before it’s even purchasable.
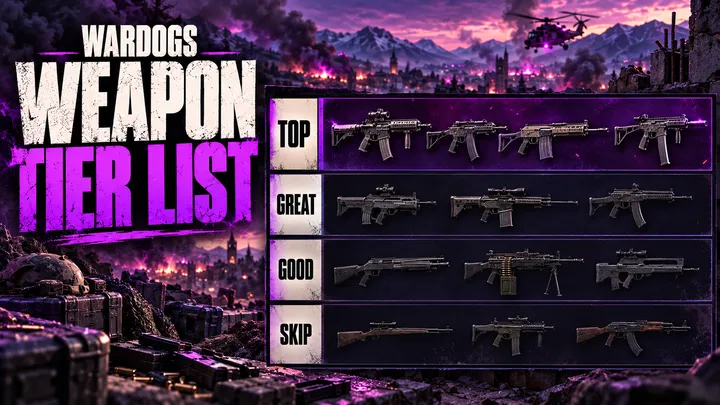
AP also does extra damage to vehicles, so it earns a bag slot even before it’s the pick for infantry fights. For how each weapon family stacks up beyond ammo choice, see the full weapons tier list.
Armor: What Each Piece Covers
WARDOGS splits protection across five gear slots, and a few work differently than players coming from other extraction or tactical shooters might expect.
- Helmets protect the entire head, not just the top, until the helmet itself breaks. A Class 2 helmet can mean the difference between surviving a sniper headshot and not, right up until the game’s stronger rifles come into play.
- Body armor covers the upper and lower torso at Levels 1 through 3. Level 4 is the outlier, it also extends coverage to the upper arms and pelvis.
- Tactical vests don’t add inventory space, despite what players coming from other shooters might assume. What they do instead is unlock extra hotkey slots and speed up reload and weapon-swap times. A small vest opens two extra hotkeys, a medium opens more, and a large opens the most.
- Backpacks hold the actual storage.
- Parachutes matter more than their price tag suggests, covered below.
Gearing up isn’t just “buy the highest number.”
Weight from higher-tier armor slows movement, so match protection level to how mobile a loadout needs to be.
The Ammo-Packing Trick Most Players Miss
Combining partial ammo boxes into magazines is as simple as dragging and dropping, or hitting C to auto-combine everything in inventory.
The part players miss is the order it fills in.
Auto-packing always tops off the top-left magazine first, then works to the next-fullest slot, left to right, like reading a page.
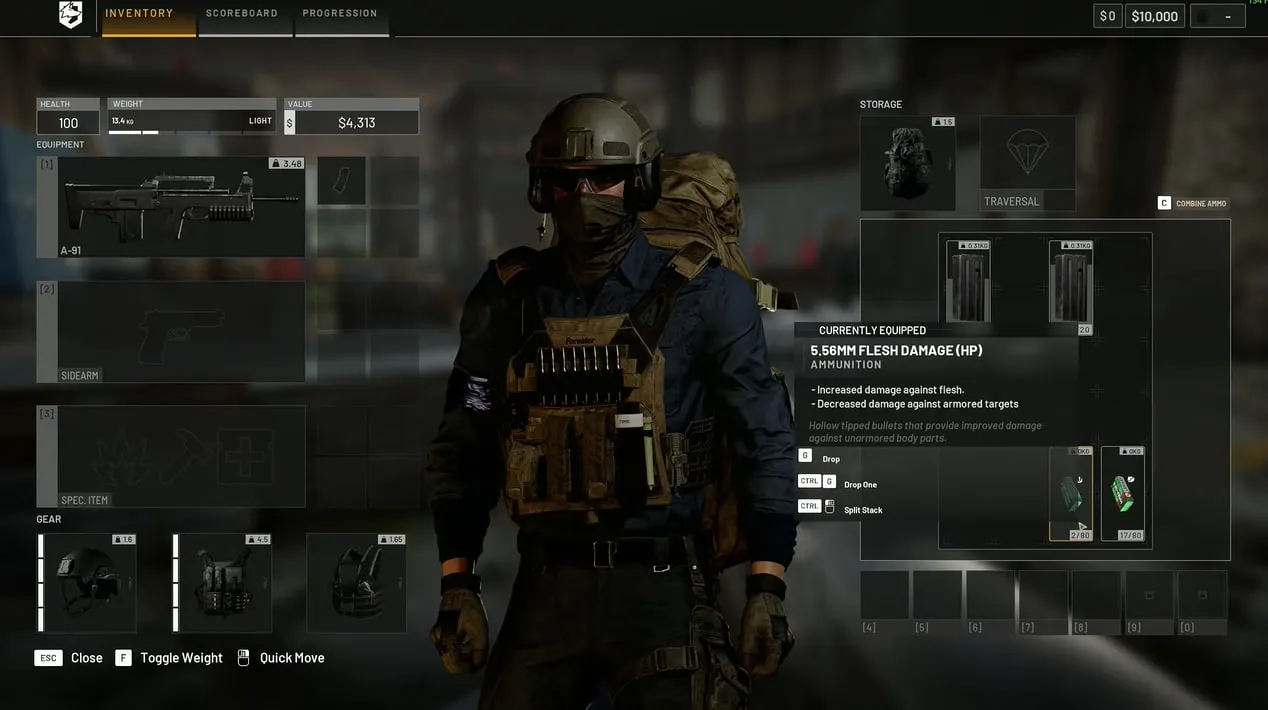
With two mostly-full mags already and a third sitting low, hitting C won’t top off that low mag first, it wastes the action on mags that don’t need it.
Move the emptiest mag to the top-left slot before hitting C to consolidate ammo where it’s needed, instead of shuffling rounds between mags that were already fine.
Always Buy a Parachute
A basic parachute costs next to nothing and is one of the cheapest ways to avoid losing an entire loadout.
Helicopter pilots vary wildly in skill, and a parachute allows bailing before a bad pilot flies into a missile, or before getting dropped somewhere unwanted.
It’s also useful outside of helicopters entirely, jumping off towers included.
Buy one every time on gearing up, no exceptions.
IEDs: Your Early Anti-Vehicle Option
Before rocket launchers are unlocked, the IED from the specialist tool slot is the cheapest reliable way to deal with vehicles and gates.
Walk up to a target, place the charge (there’s a short arming animation), then detonate it later by right-clicking to start a call sequence that takes several seconds to connect before the explosion goes off.
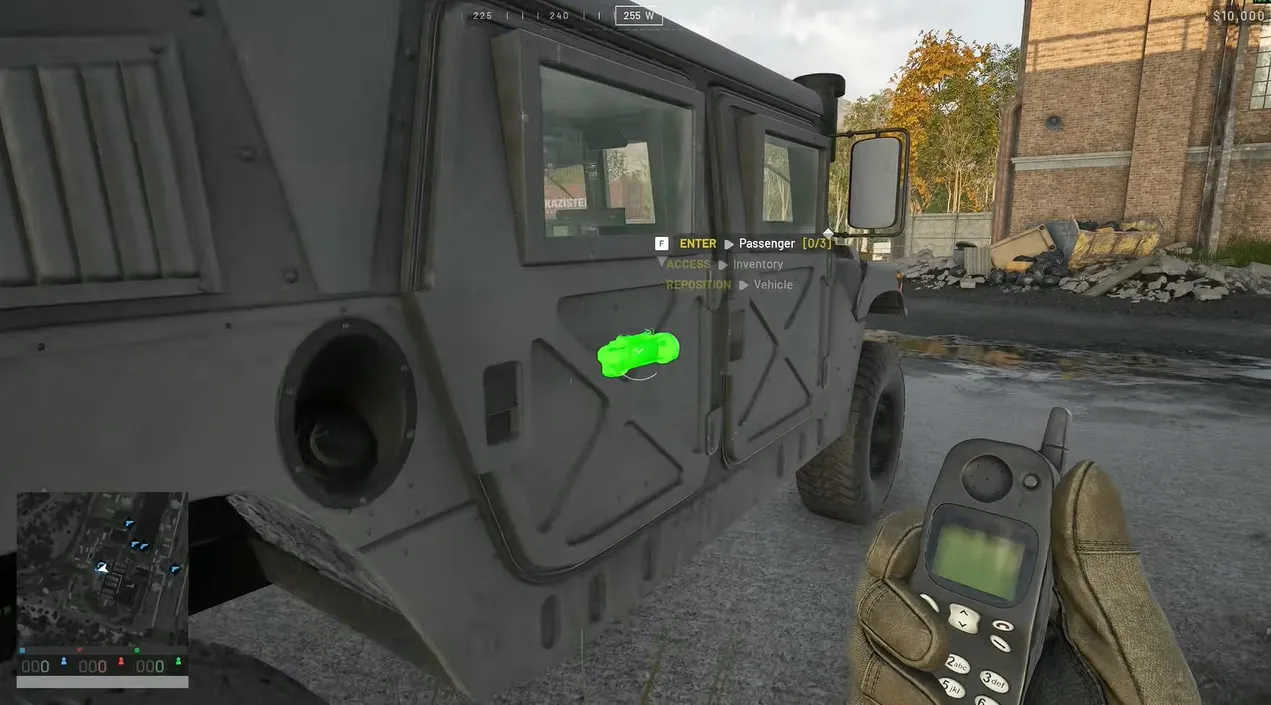
That delay matters two ways.
For traps, the charge needs to be triggered well before a target reaches it, not on top of it.
And if the planter gets downed after placing one, the charge stays live, a teammate reviving them means it can still be set off, so a plant shouldn’t be written off just because someone went down.
Progression: Six Class Tracks Plus a Career Level
WARDOGS splits progression into six separate class tracks, and each one levels from doing the thing that track represents:
| Class | Levels From | Unlocks |
|---|---|---|
| Assault | Assault rifle kills/XP | Rifles |
| Medic | Healing/reviving teammates, SMG kills/XP | SMGs, medical gear |
| Recon | Sniper and DMR kills/XP, spotting with monoculars | Sniper rifles |
| Support | Shotgun/LMG kills/XP, building, resupply, logistics | Building, repair, RPGs, shotguns, LMGs |
| Driver | Driving, delivering supplies, passengers who survive and score | Vehicles |
| Pilot | Flying, safely dropping off passengers and cargo | Helicopters |
Above those sits a Career level, referenced in Bulkhead’s own patch notes, though it’s not confirmed whether this term refers to the WARDOG-level total (the sum across all six tracks) or is a rename of the Assault track specifically.
This guide treats it as the account-wide total, consistent with how it gates the tank unlocks below, but treat the exact definition as unresolved.
Pistols, ammo, and general armor unlocks live there.
Season 1 update: the tank unlock structure changed roughly as predicted during the beta, but not evenly across the board.
The Heavy Tank moved out of the general Career track and into the Driver track, now unlocking at Driver level 35.
The Artillery Tank stayed on the overall Career track rather than shifting to Driver, it simply jumped from Career level 55 to Career level 90, alongside a listed $500,000 unlock cost.
One detail worth calling out for co-op players: driving and flying reward more than the person behind the wheel.
Dropping teammates off safely and watching them rack up kills earns assist XP and cash for the driver or pilot, so ferrying people is worth doing even without racking up the kill count directly. For the fastest route through all six tracks, see the full leveling guide.
How the Control Zone and Hot Zone Work
The Control Zone sits in the middle of the map and is where points, and most of the match’s money, come from.
Inside it, a smaller Hot Zone pays double for everything and relocates randomly as the match goes on, at least until a team captures a tower.
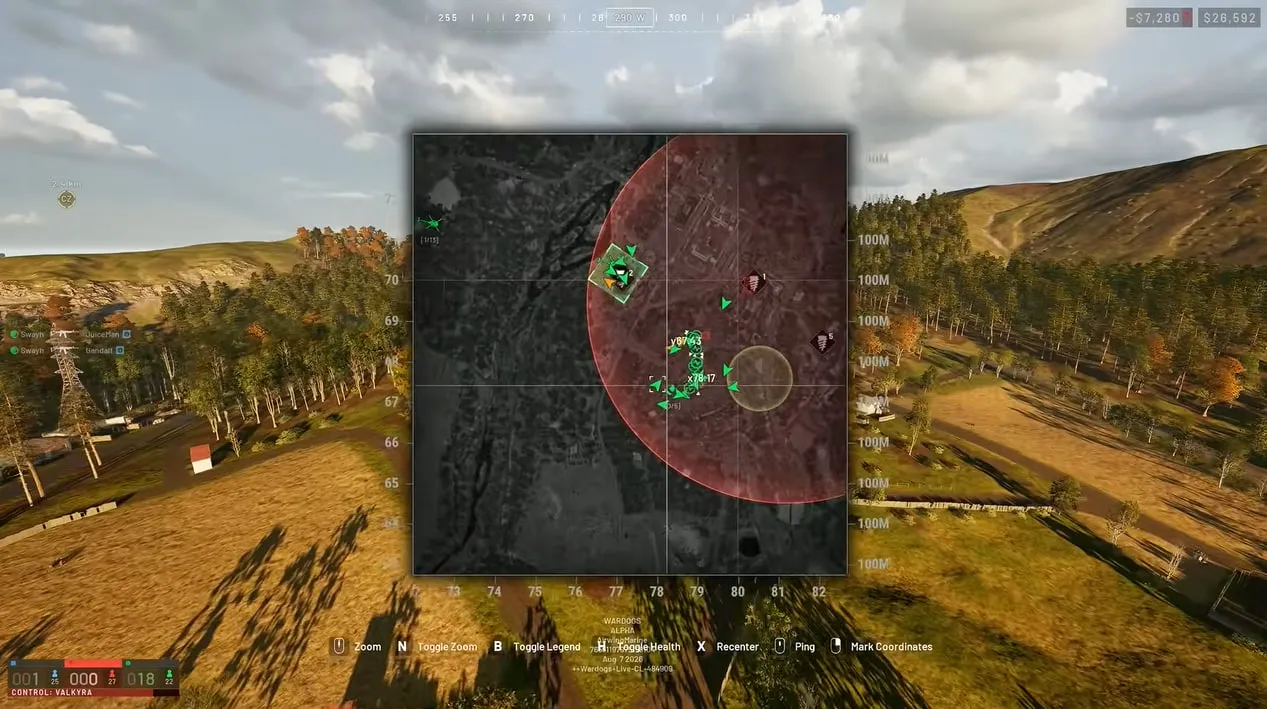
Towers hold a terminal that, once captured, gives a team a code.
Entering that code pulls the Hot Zone to that tower, letting a squad set up a base around it and farm the zone instead of chasing it across the map.
FOBs offer a second way to do the same thing: a fuel-powered drill can pull the zone toward a base as well, for a duration tied directly to how much fuel that FOB has stocked.
Quick spawn tip: a parked APC in the middle of the Control Zone lets an entire team spawn directly into the fight instead of driving in from base, no vehicle required.
It runs on a shared 10-minute cooldown, and someone has to drive an APC into the zone and leave it stationary before anyone can use it.
Once it’s set, teammates can spawn in from any faction terminal near their shops.
Tanks: Crew Size Changes Your Reload Speed
Tank reload speed in WARDOGS isn’t fixed, it scales with how many of the tank’s three seats (driver, main gunner, and a top commander/machine-gun seat) are actively filled.
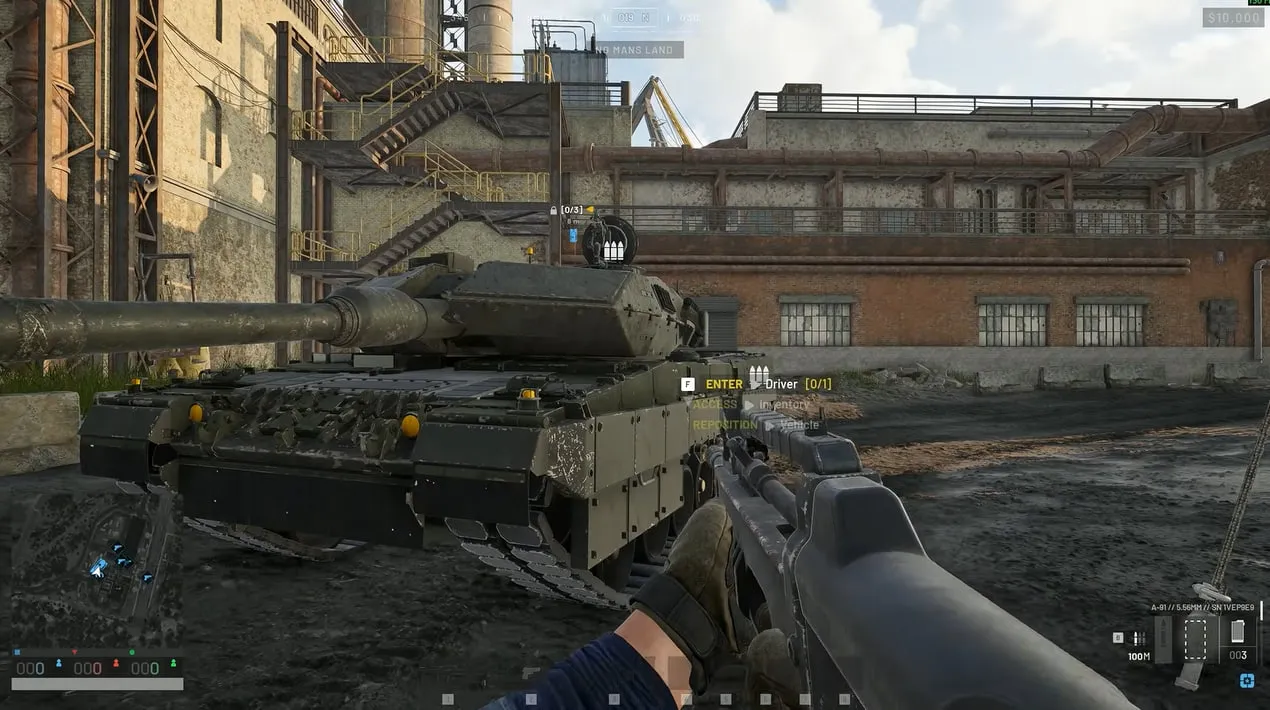
Based on one creator’s testing, dropping from two active crew to a solo operator roughly doubled reload time, while a full three-person crew cut reload time roughly in half compared to the two-person baseline.
Season 1 note: BULKHEAD’s Early Access patch notes cover economy, XP, and unlock-level changes, but list no changes to combat mechanics like tank reload behavior, so this crew-size effect appears to still hold as tested.
The exact numbers were never officially published and may still shift, but the core direction, more active crew means a meaningfully faster main gun, hasn’t been contradicted by anything since launch.
That third seat is exposed, crouching offers partial cover but still leaves a gunner vulnerable to explosives and mortars, but the reload speed payoff is worth finding a third rider for, even if that rider’s main job ends up being “whoever gets revived the most.”
Worth flagging: some players have also described a separate quick-time reload input on certain armored vehicles, where pressing a button sequence during the reload window can shorten it further.
That mechanic wasn’t confirmed in the source testing behind this guide, so treat it as a second lever to experiment with rather than something to rely on until it’s confirmed in-game.
For weak points, tanks currently carry reactive armor on the front that has to be stripped before the vehicle underneath takes real damage, and that reactive plating can be repaired.
Skip the front entirely where possible.
Shots to the rear engine bypass the reactive armor outright, tracks can be disabled to stop the tank from moving, and the fuel tank, roughly mid-vehicle, burns faster the more damage it takes once exposed. For weak points on the rest of the vehicle roster, see the guide to destroying vehicles.
Humvees and Ground Vehicles: Where to Shoot
Armored Humvees are effectively bulletproof to anyone shooting the hull while passengers are inside, so trading shots with the vehicle body is a losing plan.
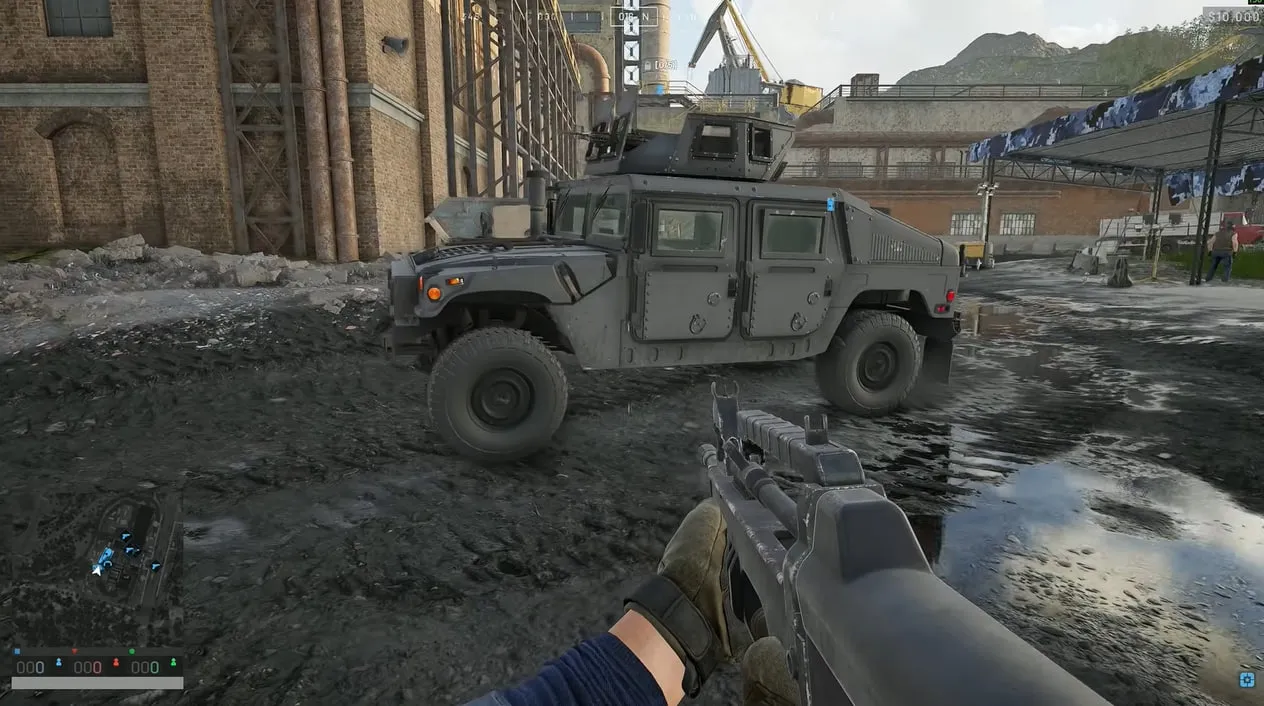
Go for the tires first: they can’t be fully disabled, but a Humvee running on rims loses speed and control fast, making it far easier to force into a tree or a wall.
Landing shots on the engine afterward can take the vehicle out of the fight entirely.
Vehicle Repair, Fuel, and the Buy Menu
Every vehicle repair tool works off battery charge rather than being unlimited, battery packs serve as its ammo, swapped in with R when one runs dry.
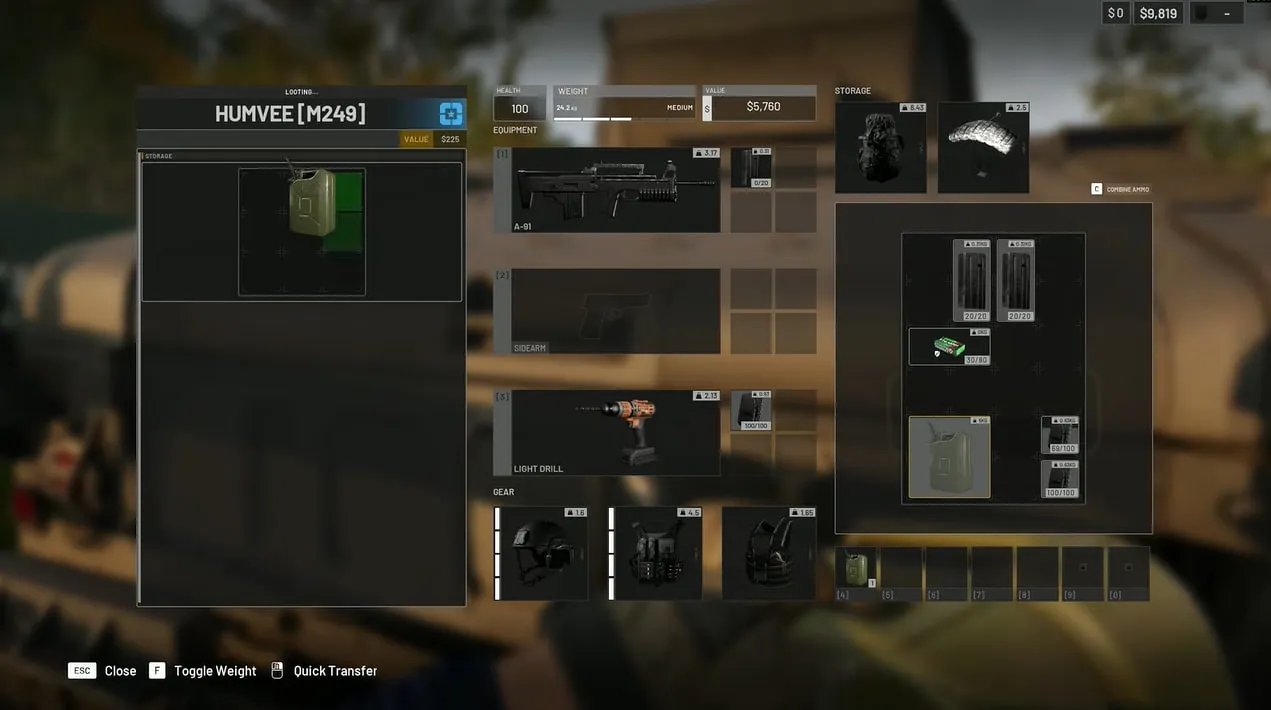
Repair tools come in a few tiers: a basic wrench, a mid-tier drill, and a faster heavy-duty drill, and they fix tires, engine health, and fuel tank damage as separate systems on the same vehicle.
If a vehicle gets stuck or flips, holding the reposition input nudges it clear of obstructions, though it doesn’t work in every situation.
Fuel cans work across every vehicle type and take up only a single inventory slot despite functioning as a four-charge item, worth keeping one in a vehicle’s own storage rather than a personal bag.
At base, the buy menu (opened near a vehicle) allows purchasing ammo specific to that vehicle’s mounted weapon, filling supply crates that can be ejected on demand with a button press, and accessing the full item store for everything from mags to fuel cans to repair tools.
The Rebuy Button Saves Real Time
After a death, there’s no need to rebuild a loadout item by item.
The rebuy option repurchases the last full kit in a couple of clicks.
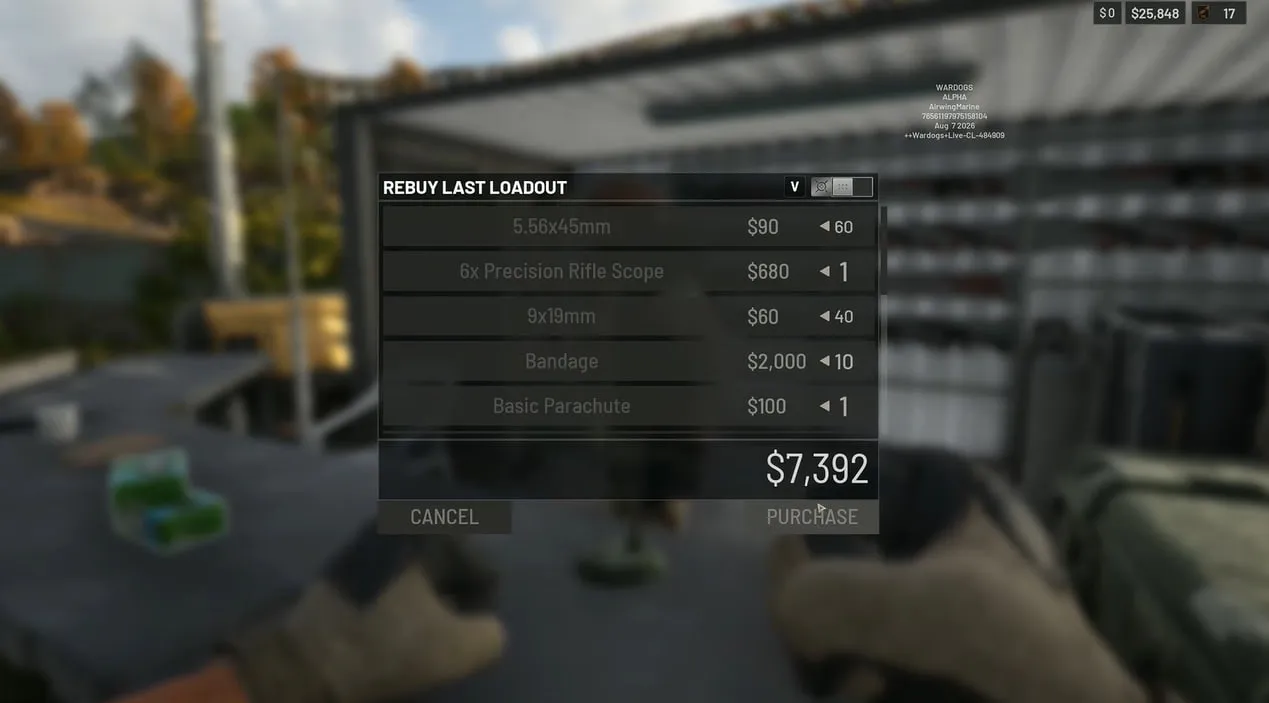
It costs the same as manually rebuying everything, so it’s not a discount, but it gets a player back into the fight fast, and it’s a good reason to always keep a parachute in the last kit, since rebuying brings that back too.
Key Takeaways
- Default to FMJ ammo. Switch to HP against unarmored targets and AP once Level 2+ armor is common, but expect AP to unlock much later in progression than HP.
- Tactical vests add hotkeys and faster reload/swap speed, not storage. Backpacks handle storage.
- Move the lowest mag to the top-left slot before hitting C to pack ammo efficiently.
- Always buy a parachute. It’s cheap insurance against bad pilots and bad drops.
- IEDs are the cheapest early anti-vehicle tool, but detonation has a real delay, plan accordingly.
- Progression splits across six class tracks plus a Career level (Bulkhead hasn’t confirmed whether this is the WARDOG-level total or a rename of Assault); driving and flying reward assist XP even when a passenger gets the kill.
- Season 1 confirmed: Heavy Tank now unlocks on the Driver track (level 35); Artillery Tank stayed on the Career track, moving from level 55 to level 90.
- Filling all three tank seats meaningfully speeds up reload. Hit the rear, tracks, or fuel tank instead of the reactive front armor.
- Shoot tires first on armored ground vehicles, since the hull itself won’t go down easily while occupied.
- The rebuy button restores a full last kit in a couple of clicks after death.
FAQ
What’s the best ammo type in WARDOGS?
There isn’t one best type for every fight. FMJ is the safest all-around default, HP is strongest against unarmored or lightly-armored targets, and AP becomes the better pick once Level 2 armor and above is common.
Does armor piercing (AP) ammo work against Level 1 armor?
Not particularly well. In range testing, AP underperformed FMJ against Level 1 armor and only pulled ahead starting around Level 2, with the gap growing as armor level increases.
Do tactical vests increase inventory space in WARDOGS?
No. Tac vests add extra hotkey slots and improve reload and weapon-swap speed. Actual storage capacity comes from the backpack slot, not the vest.
How do you speed up tank reload in WARDOGS?
Reload speed scales with how many of the tank’s three seats are actively crewed. A full three-person crew reloads noticeably faster than a two-person crew, and a solo operator is the slowest of the three.
What’s the weak point on a WARDOGS tank?
The front carries repairable reactive armor that has to be stripped first. The rear engine, the tracks, and the mid-vehicle fuel tank are all more vulnerable and bypass that front protection.
How do you spawn on the APC in WARDOGS?
Someone on the team needs to drive an APC into the Control Zone and park it stationary. Once it’s set, any teammate can spawn onto it from a faction terminal, though the spawn is limited to once every 10 minutes.
What does the rebuy button do in WARDOGS?
It repurchases the entire last loadout in a couple of clicks after death, instead of re-selecting every item individually. It costs the same as buying everything separately.
Do parachutes matter if I’m not flying much?
Yes. Beyond helicopter rides, a parachute allows a safe jump from towers and other elevated points, and it costs little enough that there’s rarely a reason to skip buying one.
Is WARDOGS still in beta?
No. WARDOGS left Closed Beta and entered Steam Early Access on September 10, 2026 with the Season 1 update. Early Access itself can still bring balance and progression changes.
What is the Career level in WARDOGS?
Bulkhead’s patch notes reference a “Career level,” but it’s not confirmed whether that term means the WARDOG-level total across all six class tracks or is a rename of the Assault track specifically. This guide treats it as the account-wide total, since that’s consistent with how it gates unlocks like the Artillery Tank, but the exact definition is still unresolved.
Who developed WARDOGS?
WARDOGS is developed by BULKHEAD and published by Team17.